Calendars allow you to view and create custom views of your work in a calendar format. Leverage filters and multiple calendar views to easily visualize the information most important to you. Calendar views support Tasks, Proofs, Projects, and Campaigns with defined dates, helping teams manage both short-term execution and long-term planning.
TABLE OF CONTENTS
- Viewing Work in Calendar View
- Filtering in Calendars View
- Rescheduling Items in Calendars View
- Adding Tasks and Proofs in Calendars View
Viewing Work in Calendar View
Navigate to Calendars by clicking on the calendar icon on the main navigation menu.
Lytho Pro Tip: Use customized badge colors to make work items easier to identify at a glance!By default, the My Work view will be presented in a one month view, showing only work assigned to you.
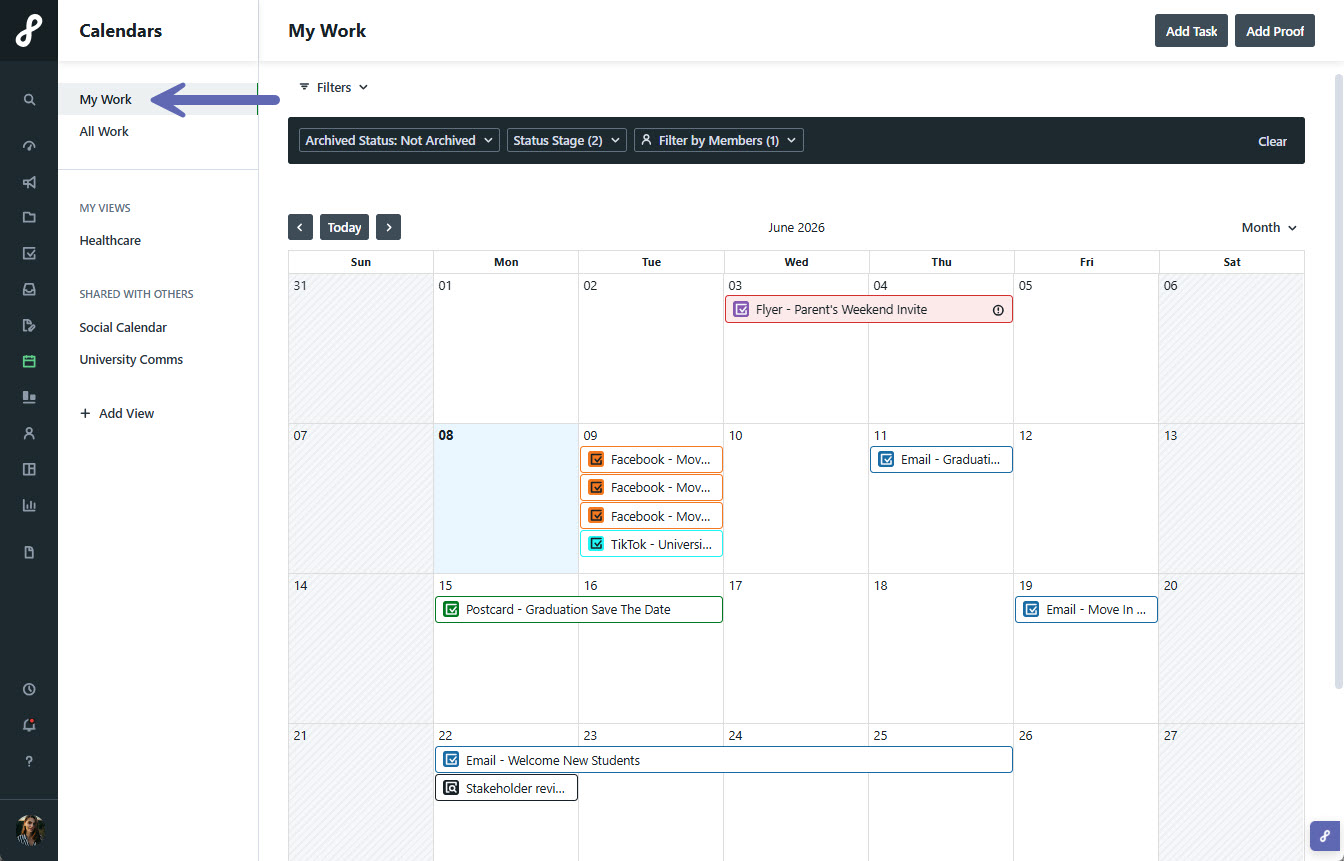
- Overdue work items are highlighted in red and display an exclamation point (!) indicator.
- Completed work items are displayed with a strikethrough to clearly distinguish them from active work.
Use the view selector in the upper-right corner of the calendar to switch between:
- Week View for detailed day-to-day planning
- Month View for a traditional monthly calendar layout
- 3-Month View for longer-term planning and visibility into upcoming work
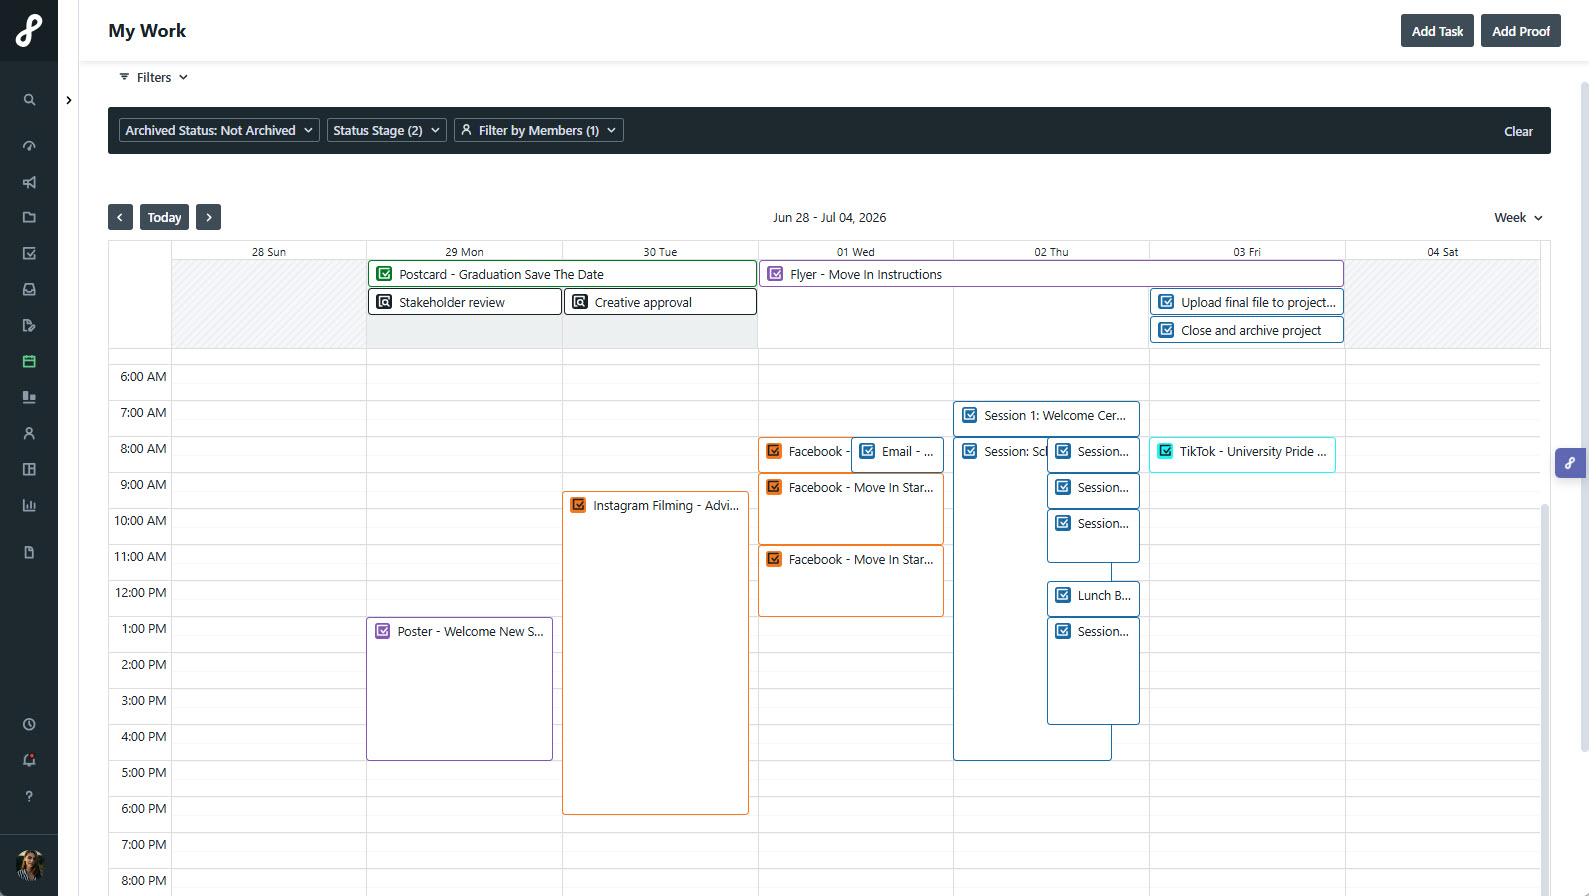
(Week View)
(Month View)
(3-Month View)
Navigate to future and past dates using the arrows above the calendar. Select Today to return to the current period.
All Work is permission based and will allow you to see any work in your account that you have access to view.
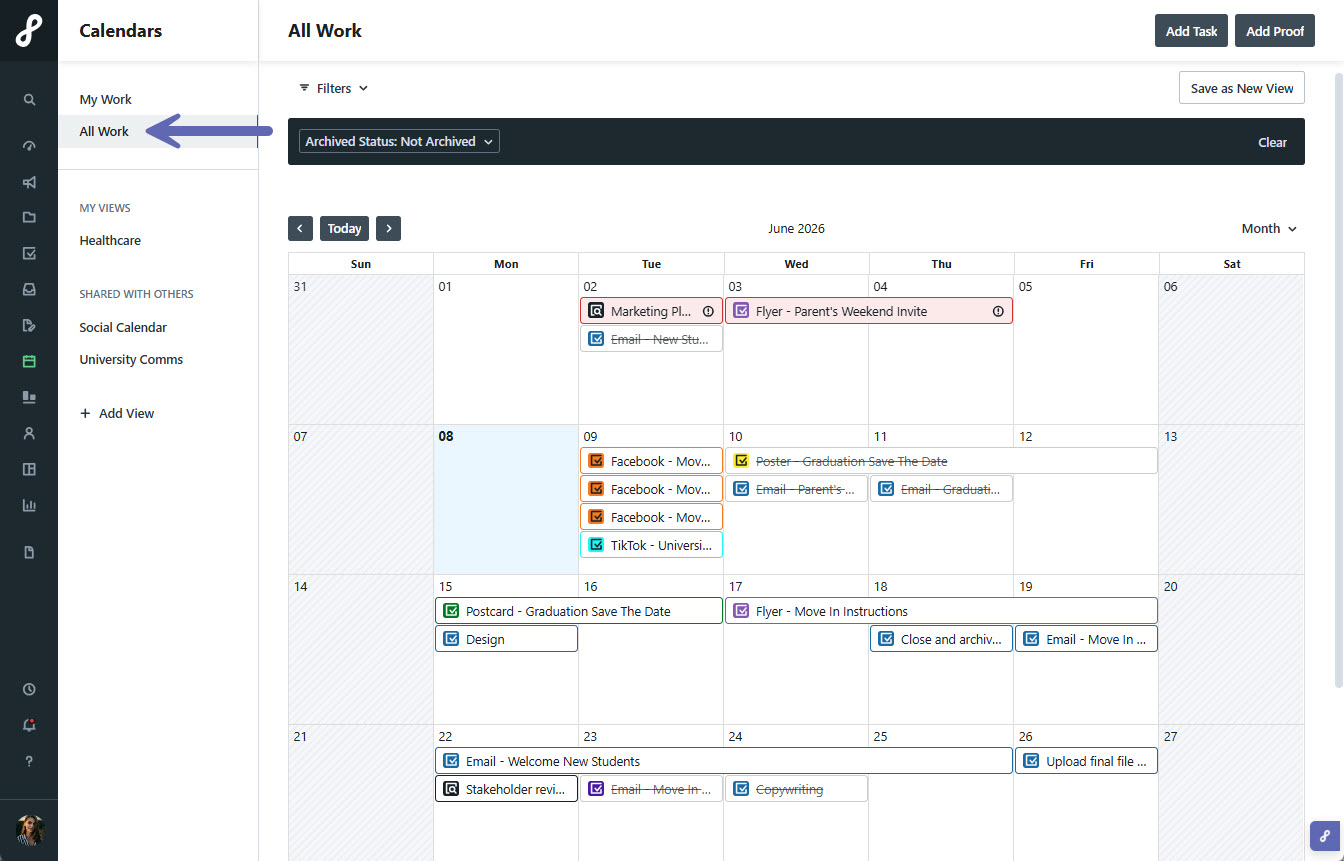
To view more items on the calendar, you can select +(number) more to access and view the full list.
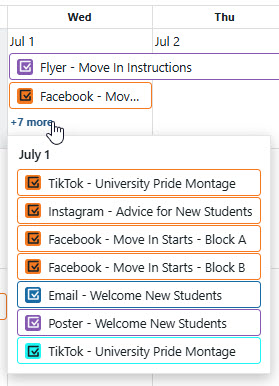
Click on the work item to be brought directly to the associated Campaign, Project, Task, or Proof.
If you have not adjusted badge colors, the default colors are:
- Campaigns - Orange
- Projects - Green
- Tasks - Blue
- Proofs - Black
Filtering in Calendars View
To filter the work displayed, select Add a filter above the calendar.
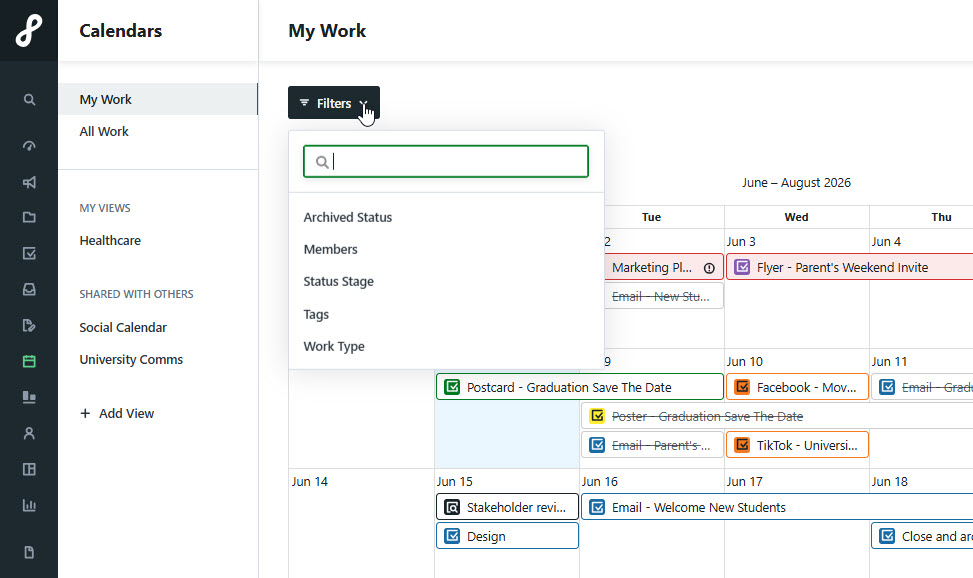
You can filter by Archived Status, Members, Status Stage, Tags, and Work Type.
You have the option to create Custom Views inside of your calendar so that your filtering preferences can be saved. From the left navigation bar, select + Add View below Custom Views to get started.
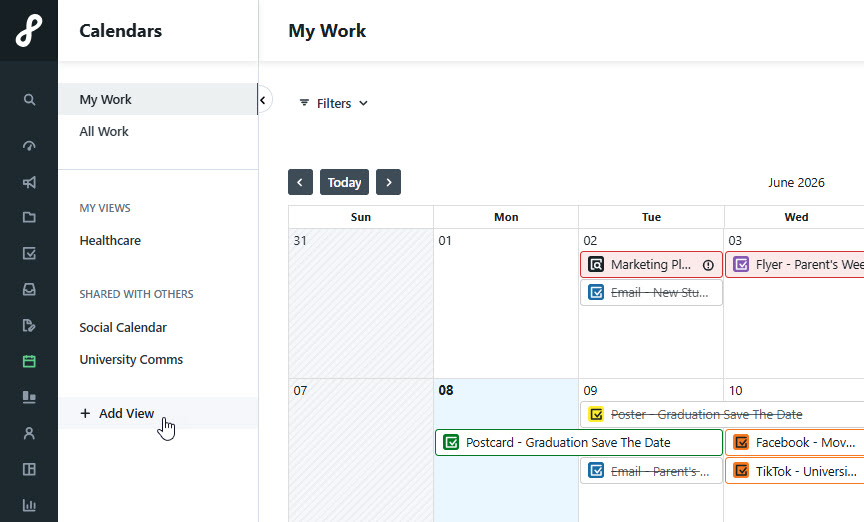
Custom Views can be shared using the share custom view action.Rescheduling Items in Calendars View
You can quickly update schedules directly from the calendar by dragging and dropping work items to a new date.
To reschedule a work item, locate the item on the calendar, click and drag it to the desired date, then release it. The work item's dates will automatically update to reflect the new schedule.
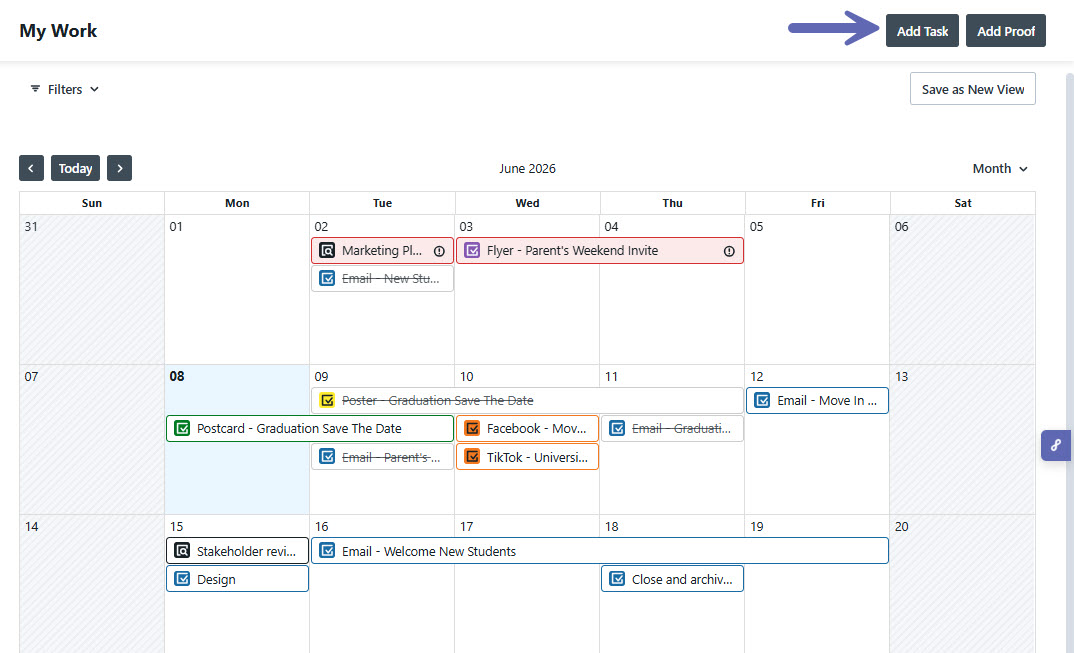
Adding Tasks and Proofs in Calendars View
If you have the permissions to add work, you can do so in the calendars view by selecting Add Task or Add Proof in the top right corner of your screen.
Create a name for your Task or Proof. Select a Start Date, Due Date, and Project to associate your work with if applicable.
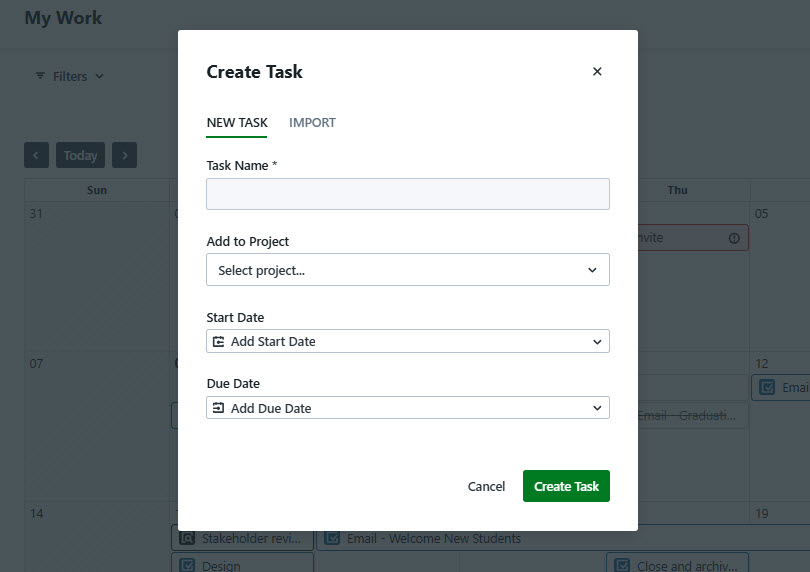
Select Create Task or Create Proof when complete. You'll see the newly created work appear on the calendar!
If you don't see the newly created work as expected, check your filters! Work will only appear on the calendar if a due date is defined and it meets the criteria of the filters you've select.