TABLE OF CONTENTS
Concept
Variable Data allows you to configure CHILI documents to be manipulated through an input form, rather than through inline editing. Rules can be created in the variable fields to make the user experience as easy as needed, and to force brand protection upon the document.
Configuration of Variable Data usually happens inside the CHILI Editor itself. This allows for very quick configuration and ease of use by administrators.
Creating your first Variable
Open a blank CHILI document using the default (Admin) WorkSpace. Go to "Variable Data" tab in the right tabs, and add a new Variable in the Variable List. In Variable Settings, set its name to "FirstName". No additional settings are required at this point. We do not recommend the use of special characters in variable names (for example, a single quote ' ), as they can cause errors in some of the Webservice functions. The Display Name can contain special characters.

Create a new textframe, and enter some text (e.g.: "This is MY NAME"). Select some of the text (e.g., "MY NAME") and insert the variable tag. This can be done by either double-clicking in the Variable List, or by selecting the Variable there and clicking the "Insert Variable" button. The text is automatically replaced by the tagging for the Variable ("%FirstName%").
In the left tabs, open "Variables". You'll notice that the FirstName variable has been added in the "Variable Input" Panel, and has the initial value of the text you highlighted when inserting the variable (this is only applied if the variable didn't have a value to start with).


Congratulations, you've created your first variable!Source vs. Preview
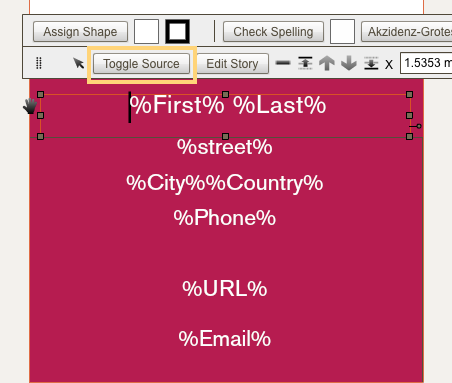
By default, you are looking at the CHILI document in "Preview" mode. This means that you see the document with the actual Variable Data applied. In the previous walkthrough, we've added a FirstName variable to the text frame. Once we configured the text frame to hold variable data, however, we do see the display value, but are no longer able to edit the text in the frame. There are several ways to accomplish this, all available only for administrators in the document:
- Toggle between Source and Preview mode
- Edit the underlying story of the text frame
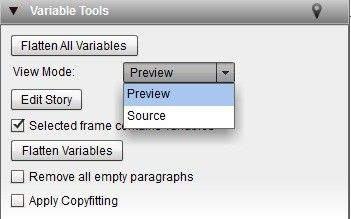
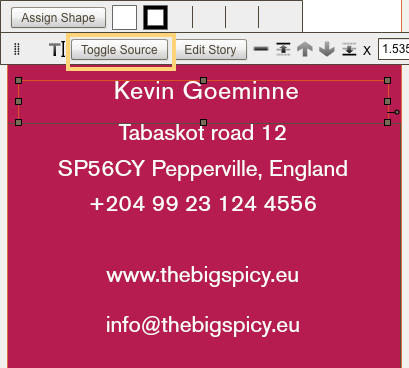
Toggling between Source and Preview mode can be done in a number of locations. While working in the "Variable Data" tab on the right, the "Common Variable Tools" Panel contains a "Preview Mode" pulldown. Next to that, an icon is available in the ViewPreferences toolbar item.


Without toggling the preview mode for the entire document, though, it is also possible to edit the source of a single Text Frame though the Story Editor. For Text Frames containing variables, this will always show the source (and because of that is only available for administrators).

Linked Variables
Next to text variables, it is also possible to link variables to certain types of content from within the settings of that content.
Continuing on our blank document, create:
- A blank image frame
- A new page
- A new layer (and add some content like a rectangle on it, as we'll be showing/hiding this layer automatically)
- Three new Variables:
- "MyImage", of datatype "image"
- "MyShowPage", of datatype "checkbox"
- "MyShowLayer", of datatype "checkbox"
You will see the relevant input items appear on the left:

Next, we can assign these variables in the relevant settings panels.
For the image: select the Image Frame and go to "Image Settings" on the right. Select your variable in the newly appeared pulldown:

Select page two and go to Page Settings on the left tabs. Select your "MyShowPage" variable in the inclusion variable pulldown:


CopyFitting
Copy fitting can be enabled on a text frame containing variables.
It scales text content down to fit all text in the frame or scales the text content up to fill up empty space in the text frame.
The more text is added, the smaller the size and, vice versa, less text means larger size.
To enable copyfitting go to Variable Data tab > Variable Tools panel and click "Apply Copyfitting".
Copy fitting parameters can be defined via Copy fitting Styles (Styles tab) or a custom setting can be defined on frame level.
 |
|
Need help building your Tempo templates?
Dream big. Let our experts bring it to life. Lytho's Professional Templating Services make it easy to scale high-quality, on-brand templates without burdening your internal design team. You provide the content, and we'll handle the complexity. Have a project in mind or want to learn more? Contact our team.