The Request for Upload feature in Lytho DAM is an easy way to ask for assets from users both inside and outside of your organization. This user does not need a Lytho account to send assets to your admin's waiting room for approval.
There are many reasons why you might ask someone to send assets to you. Let's take a look at a few scenarios. We'll also see what your users' experience looks like when they receive the Request for Upload invitation.
TABLE OF CONTENTS
Scenario 1
You just had a great event, and your attendees took photos during their experience. Whether the assets are selfies, team photos, action shots, speaker presentations or the entertainment, you would love to be able to use those files to promote your next event.
Scenario 2
You hired a photographer to take photos for a new product launch or promotional materials for a new ad campaign. You need to get those photos from your photographer and upload them to your Asset Manager so your team can use them to create the collateral for the project.Users with the assigned Rule to add and approve assets to the Asset Manager can create and send a Request for Upload link. The recipients of the link do not have to have DAM access to use the link.
To create the upload request you will need to have the Create upload requests Rule applied to your Role under settings.
Creating a Request for Upload Link
Select the Request for Upload button in the top right corner in the Asset Manager or the Waiting Room to begin creating your request.

In the GENERAL tab select the date the link will be valid through, a name for your link, and a message for your end users. The name is only displayed internally within your shared links for easy management.

You have the ability to add Tags and Permissions within the additional tabs. This ensures that the assets coming in will have the appropriate tags or permissions applied so that you do not have to apply to each individual asset in the waiting room.
Select Create link to create a link that can be copied and shared with your end users. You also have the option to send an email directly from Lytho DAM. Enter the email address(es) in the email field and click Send email to send.

When entering more than one email address into the email address box, use a semicolon (;) separator between email addresses with no space.

Example: email1@truesoap.co;email2@truesoap.co
Uploading Assets
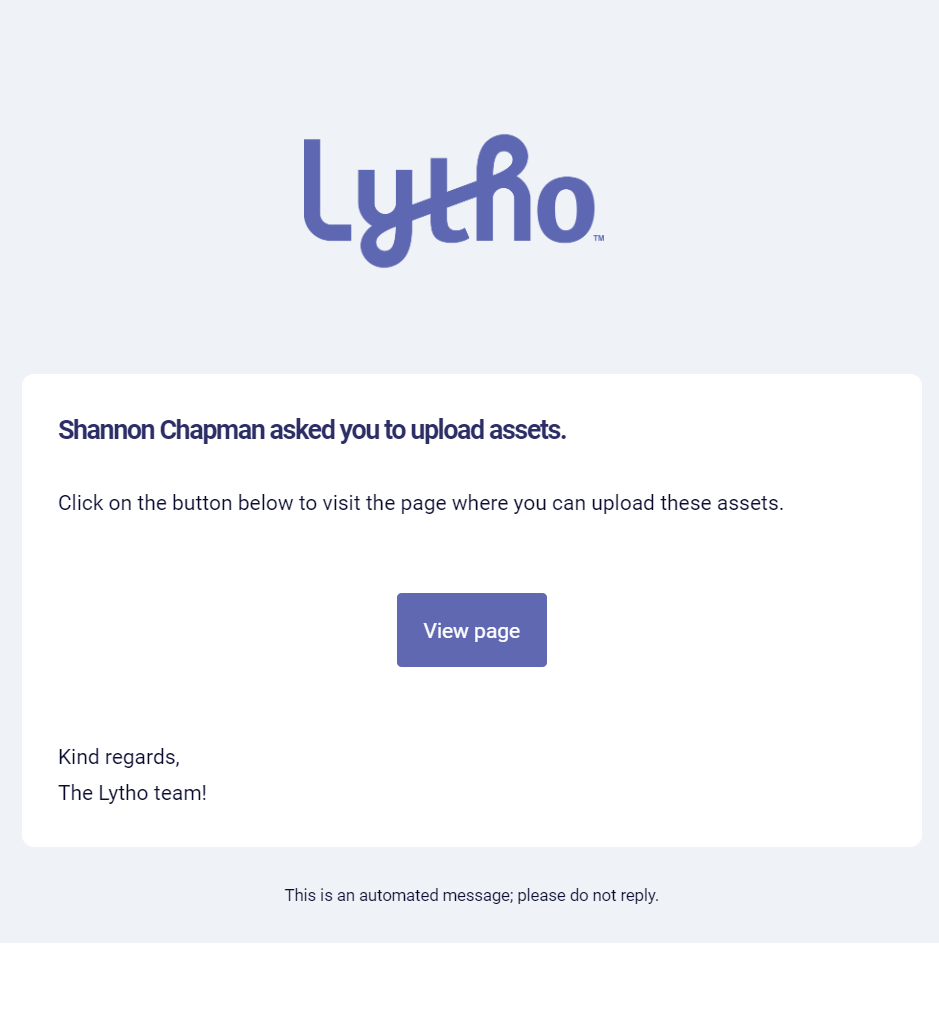
If you add user email addresses, they will receive an invitation to upload assets. Clicking on the View Page button will send the recipient to a mobile-responsive web page where they can start uploading assets from their computer or phone.

To begin, the user must enter their email address, then select Next.

Upload assets by either by dragging and dropping files into the designated space or selecting Upload from computer.

Your users can continue to upload more assets by clicking on the Upload more assets button.

When uploading a large number of assets at a time there may be a wait time before all assets are finalized. Do not refresh the page during this time as this can disrupt the asset upload process.
The final step is for your user is to click on Send uploaded assets.
If you set an expiration date for the link, it will appear at the top under the Request for Upload information.

The user can continue to upload assets until the link expires. If an expiration date was not set when the Request for upload was created, the default expiration date is 30 days from when the link was sent.
Approving Assets from the Request for Upload Link
When an asset is uploaded via this link, the "To Do" emblem will light up. A notification will read that an asset has been uploaded via the link. Clicking on the notification will take you into the Waiting Room for your approval.

If you have the ability to approve assets in the Waiting Room, you will see them in the Approval Requested waiting room.

To have the ability to approve assets to the Asset Manager you will need the Approve assets rule applied to your role under settings.

You can click the Thumbs Up to add them to the Asset Manager or select Thumbs Down to decline the asset. If you choose to decline the asset you will get a prompt asking you to confirm that you want to decline the asset.

If you are declining multiple assets at one time, you have the opportunity to add a reason for declining.
